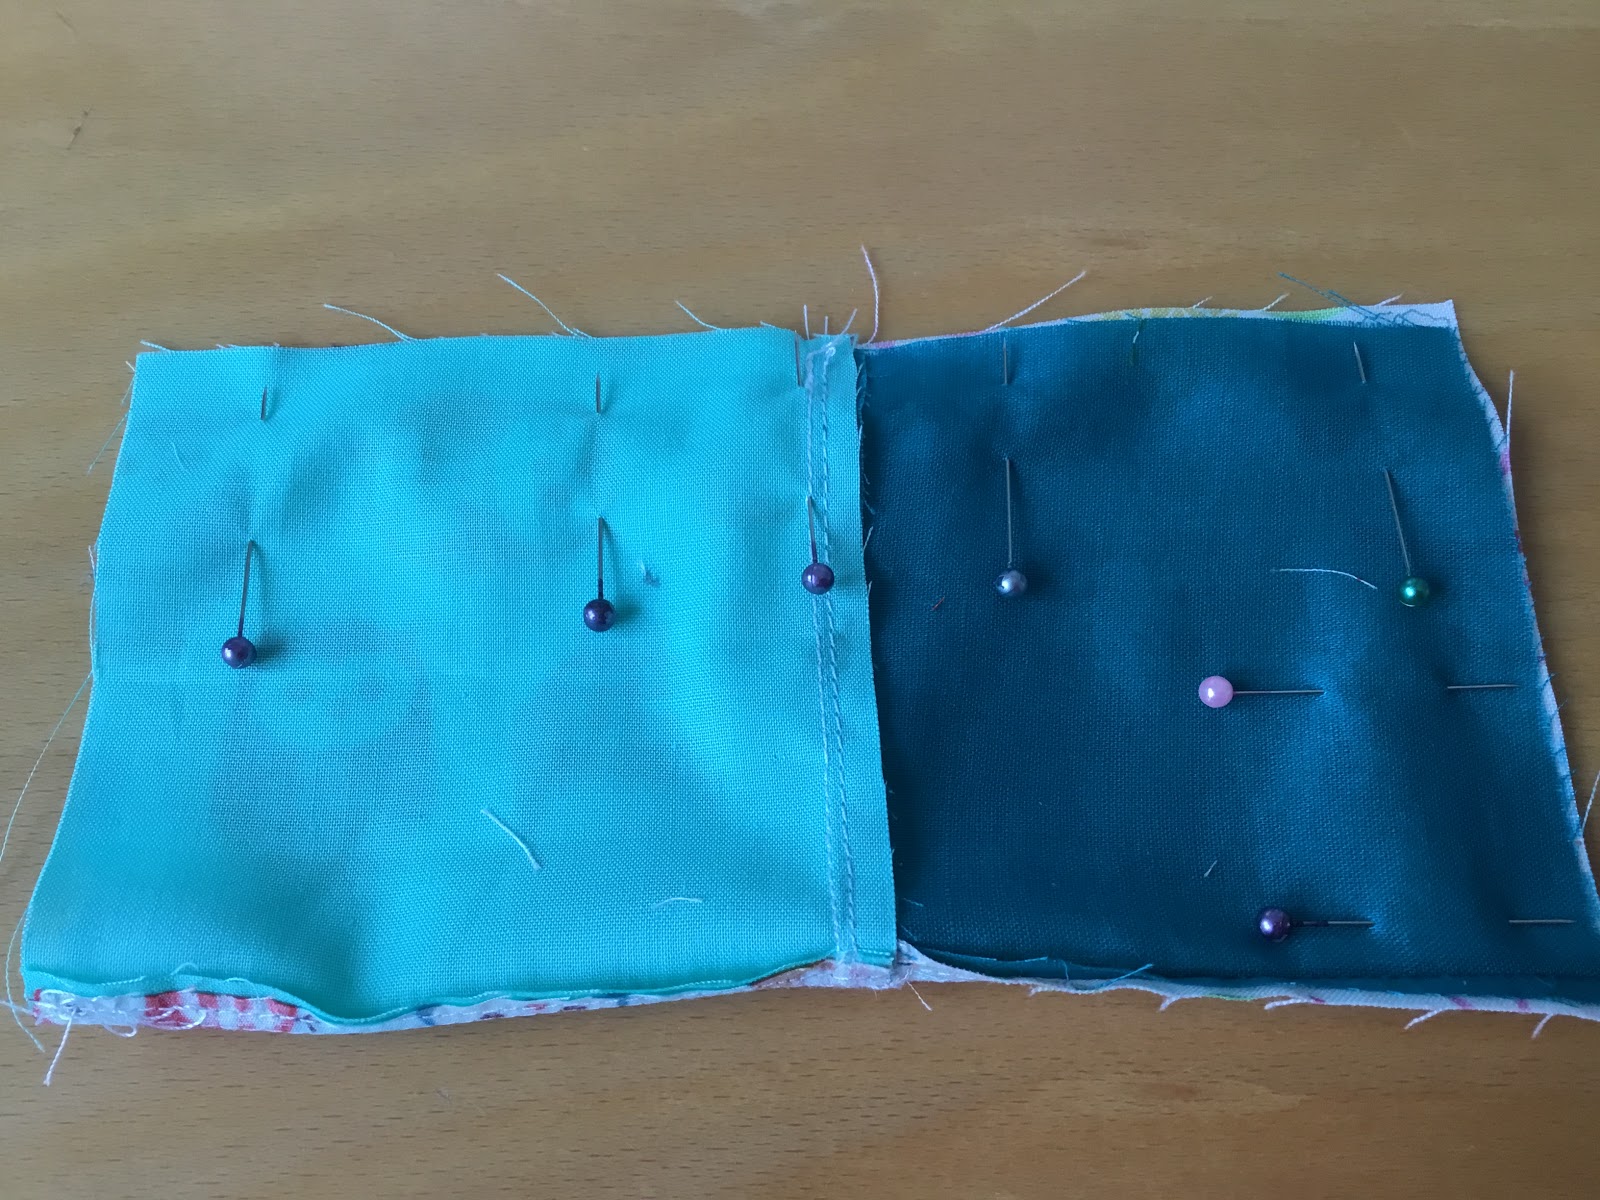
Fold your piece in half, right sides together. Line up the seam in the middle, using the pinning method you learned before.

Begin to sew part way along a short edge (you may want to begin sewing a bit closer to the corner than I did here. It was a bit fiddly trying to stuff the cushion through such a small gap!)

Sew all the way around, up to the last corner.


Remove the pins and trim off the corners.

Turn it the right way out. Use your scissors or a pencil to push out the corners. Don’t be too rough, or you may puncture your seam or your fabric!
Fill with stuffing, use the pointy thing to encourage the stuffing into the corners.

At the open edge, fold the fabric over 1/4” 5cm and pin together.

Pin and hand sew along the gap - I have used over sewing as you see. You could use running stitch or a hidden mattress stitch which is what surgeons use, apparently! (They are well known for their pin cushions!)

If you don’t wish to sully your work with hand sewing, persuade the edge of your pin cushion under your sewing machine needle and close the gap in that way.

Ta daa!
Please be sure to email me photos of your work, in addition to any queries you have on the way through. This is a joint project - I don’t wish to be the only one cutting up fabric only to sew it back together again! 🥳
No comments:
Post a Comment